Tutorial 2: Form and Data Delivery
Platform-Based Programming (CSGE602022) — Organized by the Faculty of Computer Science Universitas Indonesia, Odd Semester 2025/2026
Last Updated: 28 August 2025, 01:48 PM
Learning Objectives
After completing this tutorial, students are expected to be able to:
- Understand the purpose and how to implement the skeleton of a view
- Understand
XMLandJSONas one of the data delivery methods - Understand how is data provided by the user submitted using the
formelement inHTML - Understand how to send data using the
XMLandJSONformat. - Understand how to retrieve data based on a specific
ID - Understand the use of Postman as a data viewer
Introduction to Data Delivery
In the development of a platform, sometimes we need to send data from one stack to another. Data that is sent can be of many different types. Some commonly used data formats between different applications are HTML, XML, and JSON. The implementation of data delivery in the form of HTML has already been covered in the previous tutorial. In this tutorial, we will cover data delivery in the form of XML and JSON.
XML (Extensible Markup Language)
XML, or eXtensible Markup Language, is a format that is designed to be easy to understand because each element describes itself. An XML file only contains data packaged in a specific tag, and to send, receive, store, or display information from the file, we need to create a program that can process it.
XML Format Example:
<?xml version="1.0" encoding="UTF-8"?>
<person>
    <name>Haru Urara</name>
    <age>29</age>
    <address>
        <street>Jl. PeBePe No.1</street>
        <city>Depok</city>
        <province>Jawa Barat</province>
        <zip>16424</zip>
    </address>
</person>
The XML above is highly self-descriptive:
- It contains the name (
name) - It contains the age (
age) - It contains the address (
address)- It contains the street (
street) - It contains the city (
city) - It contains the zip code (
zip)
- It contains the street (
An XML document forms a tree-like structure - starting from the root, branching and then ending at the leaves. An XML document must contain a root element that acts as parent of other elements. In the example above, <person> is the root element.
The line <?xml version="1.0" encoding="UTF-8"?>, usually called the XML Prolog, is optional, but if present, it must appear at the beginning of the XML document. In an XML document, all elements must have a closing tag. XML tags are case-sensitive, so the tag <person> is considered different from <Person>.
JSON (JavaScript Object Notation)
JSON, or JavaScript Object Notation, is a format that is designed to be easy to understand, as each element describes itself. JSON is commonly used in various web and mobile applications for the storage and transmission of data. While the syntax used in JSON is based on JavaScript objects, JSON itself is a text format. For this reason, many programming languages provide support for reading and creating JSON.
Example of JSON format:
{
    "name": "Haru Urara",
    "age": 25,
    "address": {
        "street": "Jl. Ganesa No.10",
        "city": "Bandung",
        "province": "Jawa Barat",
        "zip": "40132"
    }
}
Data in JSON is stored in the form of key and value. In the example above, the key is name, age, and address. The value can be of primtive data type (string, number, boolean) or an object.
Pre-Tutorial Notes
Before you start, and to ensure that you follow this tutorial correctly, we expect these results from tutorial 1:
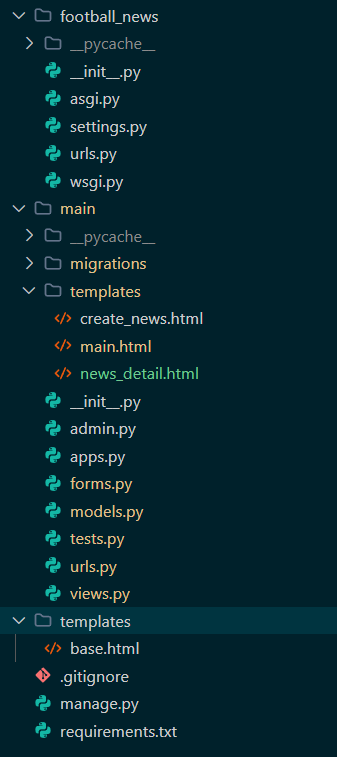
- Local directory structure
football-newsshould look like this.
- Repository structure
football-newson GitHub should look like this.
Tutorial: Implementing Skeleton as a Structure for Views
Before creating form, we need to create a skeleton that acts as a structure for the views of our website. With this structure, we can ensure consistency in the design of our website and reduce the possible of code redundancy. In this tutorial, we will create a skeleton for the website that we will build in the next tutorial.
-
Create a directory
templatesunder the main directory (root folder) and create a new HTML file namedbase.html. Thebase.htmlfile acts as a base template that can be used as a generic view for other web pages within the project. Add the following code to thebase.htmlfile:{% load static %}
<!DOCTYPE html>
<html lang="en">
<head>
<meta charset="UTF-8" />
<meta name="viewport" content="width=device-width, initial-scale=1.0" />
{% block meta %} {% endblock meta %}
</head>
<body>
{% block content %} {% endblock content %}
</body>
</html>The lines enclosed in
{% ... %}are called template tags in Django. The lines in this example will function to dynamically load data from Django into the HTML.In the example above, the
{% block %}tag in Django is used to define an area that can be overriden by child templates. The child template will extend the base template (in this casebase.html) and override the content in the block as needed. -
Open the
settings.pyfile that is in the project directory (football-news) and find the line that contains theTEMPLATESvariable. Update the code to match the snippet below so that thebase.htmlis recognized as a template file.
...
TEMPLATES = [
    {
        'BACKEND': 'django.template.backends.django.DjangoTemplates',
        'DIRS': [BASE_DIR / 'templates'], # Tambahkan konten baris ini
        'APP_DIRS': True,
        ...
    }
]
...
In some cases, the value ofAPP_DIRS on your TEMPLATES configuration might be set to False. If it is, set it to True. The value of APP_DIRS must be True to ensure that your app templates (such as main) will be prioritized over django.contrib.admin's admin/base_site.html. For more details, see this documentation.
-
In the
templatessubdirectory of themaindirectory, modify themain.htmlfile you created in the previous tutorial as follows.{% extends 'base.html' %}
{% block content %}
<h1>Football News</h1>
<h5>NPM: </h5>
<p>{{ npm }}<p>
<h5>Name:</h5>
<p>{{ name }}</p>
<h5>Class:</h5>
<p>{{ class }}</p>
{% endblock content %}Note that the code above is the same as the
main.htmlcode from the previous tutorial, except that here we usebase.htmlas the main template.
Tutorial: Creating Data Input Form and Displaying Football News Data on HTML
Up to this point, no data has ever been added and displayed in the application. Next, we will create a simple form to input Football News data, which will let us add new entries that will appear on the main page.
-
Create a new file in the
maindirectory namedforms.pyto define the form structure that will receive new News data. Add the following code to the file.from django.forms import ModelForm
from main.models import News
class NewsForm(ModelForm):
class Meta:
model = News
fields = ["title", "content", "category", "thumbnail", "is_featured"]Code Explanation:
model = Newsspecifies the model that will be used for the form. When data from the form is saved, the form's input will be saved as an object ofNews.fields = ["title", "content", "category", "thumbnail", "is_featured"]specifies the fields of theNewsmodel that will be used in the form. Thedate_addedfield is not included in the list because it is set automatically.
-
Open the views.py file in the main directory, add the following imports at the top, and then update and add the functions below.
from django.shortcuts import render, redirect, get_object_or_404
from main.forms import NewsForm
from main.models import News

def show_main(request):
    news_list = News.objects.all()

    context = {
        'npm' : '240123456',
        'name': 'Haru Urara',
        'class': 'PBP A',
        'news_list': news_list
    }

    return render(request, "main.html", context)

def create_news(request):
    form = NewsForm(request.POST or None)

    if form.is_valid() and request.method == "POST":
        form.save()
        return redirect('main:show_main')

    context = {'form': form}
    return render(request, "create_news.html", context)

def show_news(request, id):
    news = get_object_or_404(News, pk=id)
    news.increment_views()

    context = {
        'news': news
    }

    return render(request, "news_detail.html", context)
Code Explanation:
- The
show_mainfunction is modified by addingNews.objects.all()to fetch allNewsobjects that are stored in the database. - The
create_newsfunction is used to generate a form that can automataically addNewsdata when submitted. - The
show_newsfunction usesget_object_or_404(News, pk=id)to fetch aNewsobject based on its primary key (id). If no such object is found, a 404 page is returned. news.increment_views()is used to increase the view count of the news item.
- The
-
Open the
urls.pyfile in themaindirectory, import the functions you created earlier, and add the URL path to theurlpatternsvariable..from main.views import show_main, create_news, show_news
app_name = 'main'
urlpatterns = [
path('', show_main, name='show_main')
path('create-news/', create_news, name='create_news'),
path('news/<str:id>/', show_news, name='show_news'),
] -
Open
main.htmland update the code inside thecontentblock to display the news data, along with an "Add News" button that redirects to the form page.<h1>Football News</h1>
<h5>NPM: </h5>
<p>{{ npm }}</p>
<h5>Name:</h5>
<p>{{ name }}</p>
<h5>Class:</h5>
<p>{{ class }}</p>
<a href="{% url 'main:create_news' %}">
<button>+ Add News</button>
</a>
<hr>
{% if not news_list %}
<p>No news data available in Football News.</p>
{% else %}
{% for news in news_list %}
<div>
<h2><a href="{% url 'main:show_news' news.id %}">{{ news.title }}</a></h2>
<p><b>{{ news.get_category_display }}</b>{% if news.is_featured %} |
<b>Featured</b>{% endif %}{% if news.is_news_hot %} |
<b>Hot</b>{% endif %} | <i>{{ news.created_at|date:"d M Y H:i" }}</i>
| Views: {{ news.news_views }}</p>
{% if news.thumbnail %}
<img src="{{ news.thumbnail }}" alt="thumbnail" width="150" height="100">
<br />
{% endif %}
<p>{{ news.content|truncatewords:25 }}...</p>
<p><a href="{% url 'main:show_news' news.id %}"><button>Read More</button></a></p>
</div>
<hr>
{% endfor %}
{% endif %} -
Create two new HTML files under the
main/templatesdirectory to create an input form and news details page.create_news.html:
{% extends `base.html` %}
{% block content %}
<h1>Add News</h1>

<form method="POST">
  {% csrf_token %}
  <table>
    {{ form.as_table }}
    <tr>
      <td></td>
      <td>
        <input type="submit" value="Add NEWS" />
      </td>
    </tr>
  </table>
</form>

{% endblock %}
Code Explanation:
{% csrf_token %}is a security token and is automatically generated by Django to prevent attacks.{{ form.as_table }}is a template tag used to render form fields defined in theforms.pyfile as an HTML table.<input type="submit" value="Add NEWS"/>is used as a submit button to send the request to thecreate_news(request)
news_detail.html
{% extends 'base.html' %}
{% block content %}
<p><a href="{% url 'main:show_main' %}"><button>← Back to News List</button></a></p>

<h1>{{ news.title }}</h1>
<p><b>{{ news.get_category_display }}</b>{% if news.is_featured %} |
    <b>Featured</b>{% endif %}{% if news.is_news_hot %} |
    <b>Hot</b>{% endif %} | <i>{{ news.created_at|date:"d M Y, H:i" }}</i>
    | Views: {{ news.news_views }}</p>

{% if news.thumbnail %}
<img src="{{ news.thumbnail }}" alt="News thumbnail" width="300">
<br /><br />
{% endif %}

<p>{{ news.content }}</p>

{% endblock content %} -
Open
settings.pyin the root project directory and add your PWS project URL entry toCSRF_TRUSTED_ORIGINSright afterALLOWED_HOSTS:...
CSRF_TRUSTED_ORIGINS = [
"<your-pws-deployment-url>"
]
...Remember that the deployment URL for CSRF_TRUSTED_ORIGINS must include the protocol, so the URL should start with
https://, for examplehttps://isa-citra-footballnews.pbp.cs.ui.ac.id. -
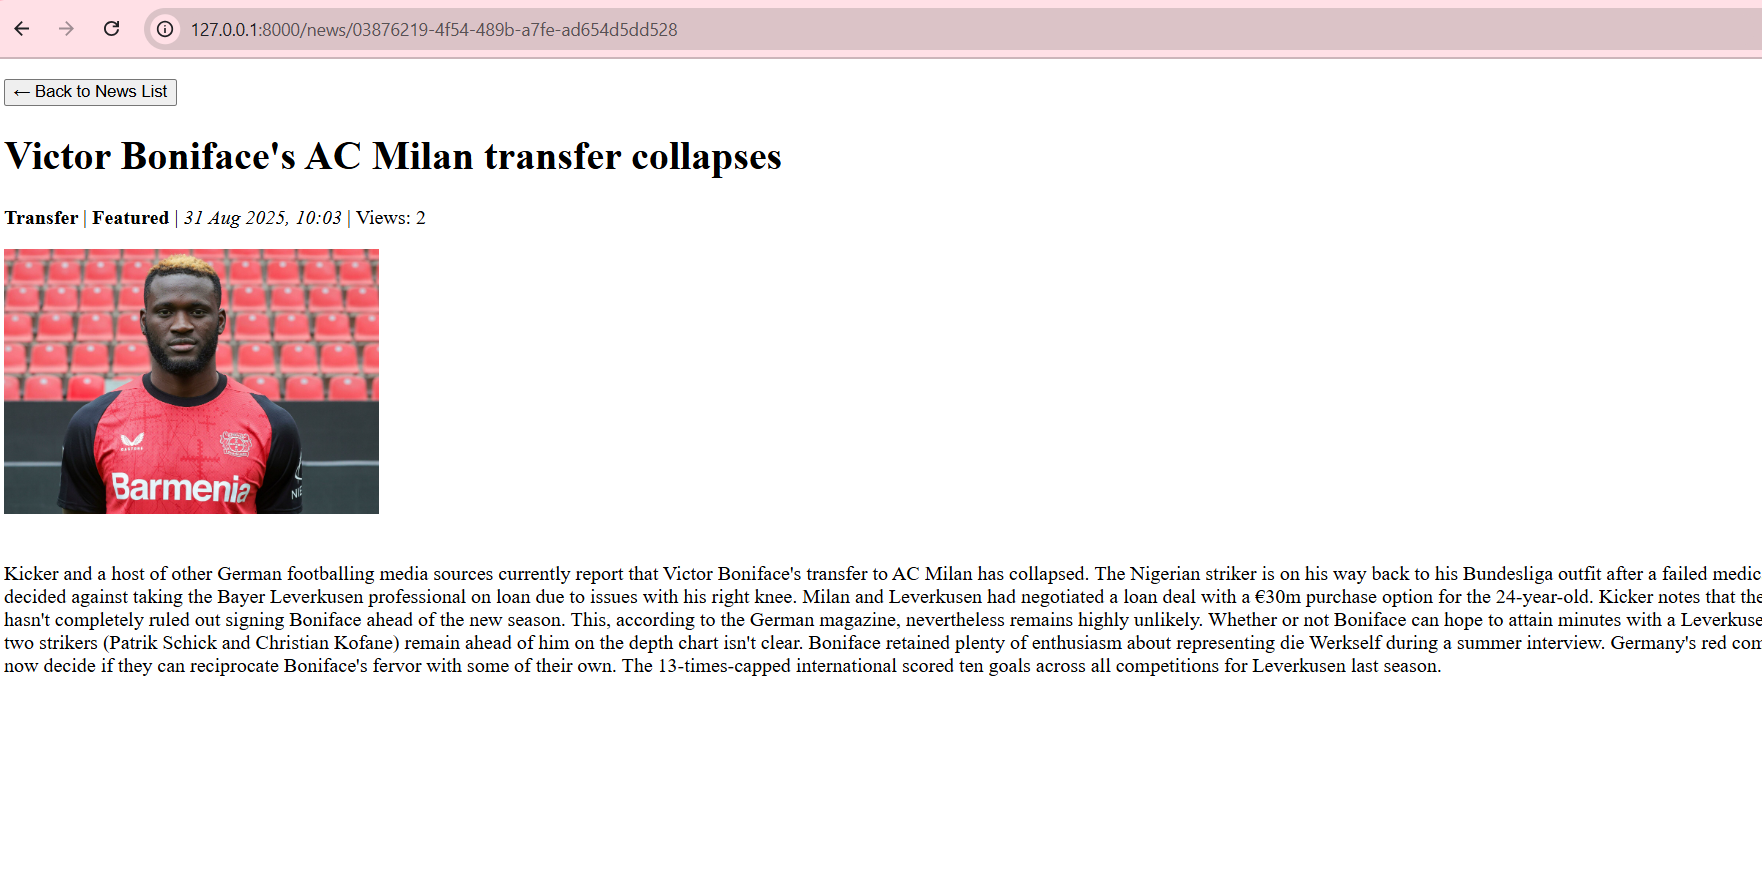
Run your Django project with the
python manage.py runservercommmand and go to http://localhost:8000/ in your preferred browser. Try adding new news entries and clicking the title links or "Read More" buttons to view news details. You should be able to see the added data on the main page of the application and access the detail page for each news item.
Tutorial: Returning Data in XML Format
-
Open the
views.pyfile in themaindirectory and add theHttpResponseandSerializerimports at the beginning of the file.from django.http import HttpResponse
from django.core import serializersinfoHttpResponseis a class used to construct the response returned by the server to the user. For more details aboutHttpRequestandHttpResponse, see the official documentation. -
Create a new function called
show_xmlthat takes arequestas a parameter, and define a variable inside the function to store the query result of all data inNews.def show_xml(request):
news_list = News.objects.all() -
Add a return statement using
HttpResponsethat contains the query results serialized as XML, along with the parametercontent_type="application/xml".def show_xml(request):
news_list = News.objects.all()
xml_data = serializers.serialize("xml", news_list)
return HttpResponse(xml_data, content_type="application/xml")Code Explanation:
serializersare used to convert model objects into other formats - in this case, XML. -
Open the
urls.pyfile in themaindirectory and import the function that you just created.from main.views import show_main, create_news, show_xml -
Add a URL path to
urlpatternsto access the function imported earlier....
path('xml/', show_xml, name='show_xml'),
... -
Run the Django project by running
python manage.py runserverand visit http://localhost:8000/xml/ in your preferred browser.
Tutorial: Returning Data in JSON Format
-
Open the
views.pyfile in themaindirectory and create a new function calledshow_jsonthat takes arequestas parameter, and define a variable inside the function to store the query result of all data inNews.def show_json(request):
news_list = News.objects.all() -
Add a return statement using
HttpResponsethat contains the query results serialized as JSON, along with the parametercontent_type="application/JSON".def show_json(request):
news_list = News.objects.all()
json_data = serializers.serialize("json", news_list)
return HttpResponse(json_data, content_type="application/json") -
Open the
urls.pyfile in themaindirectory and import the function that you just created.from main.views import show_main, create_news, show_xml, show_json -
Add a URL path to
urlpatternsto access the function imported earlier....
path('json/', show_json, name='show_json'),
... -
Run the Django project by running
python manage.py runserverand visit http://localhost:8000/xml/ in your preferred browser.
Tutorial: Returning Data Based on an ID in XML and JSON Format
-
Open the
views.pyfile in themaindirectory and create two new functions, show_xml_by_id and show_json_by_id, each taking arequestandnews_idas parameters. -
Define a variable inside the function to store the query result of the
Newsobject with the specified ID.data = News.objects.filter(pk=news_id) -
Add a return statement using
HttpResponsethat contains the query results serialized as XML or JSON, along with thecontent_typeparameter set to"application/xml"(for XML) or"application/json"(for JSON).-
XML
def show_xml_by_id(request, news_id):
  data = News.objects.filter(pk=news_id)
return HttpResponse(serializers.seralize("xml", data), content_type="application/xml") -
JSON
def show_json_by_id(request, news_id):
  data = News.objects.filter(pk=news_id)
return HttpResponse(serializers.serialize("json", data), content_type="application/json")infoTo retrieve data by ID, Django provides several methods, with two of which are
filter()andget(). These two methods differ significantly:filtercan be used to retrieve one or more objects that meet the specified condition, whileget()is used to retrieve exactly one object. For more details, see the official documentation.
-
-
Add a
try-exceptblock inside the function to handle the case where no data is found for the specifiednews_id. If the data does not exist, return anHttpResponsewith 404 status code to indicate that the data was not found.- XML
def show_xml_by_id(request, news_id):
    try:
        news_item = News.objects.filter(pk=news_id)
        xml_data = serializers.serialize("xml", news_item)
        return HttpResponse(xml_data, content_type="application/xml")
    except News.DoesNotExist:
return HttpResponse(status=404)- JSON
def show_json_by_id(request, news_id):
    try:
        news_item = News.objects.get(pk=news_id)
        json_data = serializers.serialize("json", [news_item])
        return HttpResponse(json_data, content_type="application/json")
    except News.DoesNotExist:
return HttpResponse(status=404) -
Open the
urls.pyfile in the main directory and import the functions that you just created.from main.views import show_main, create_news, show_xml, show_json, show_xml_by_id, show_json_by_id -
Add a URL path to
urlpatternsto access the function imported earlier....
path('xml/<str:id>/', show_xml_by_id, name='show_xml_by_id'),
path('json/<str:id>/', show_json_by_id, name='show_json_by_id'),
... -
Run the Django project by running
python manage.py runserverand visit http://localhost:8000/xml/[id] or http://localhost:8000/json/[id]/ in your preferred browserwarningAdjust the
[id]aboved with the ID of the object thata you want to see. You can take an ID of an object that is displayed when accessing the/xml/and/json/endpoints.
Tutorial: Using Postman as a Data Viewer
-
Ensure that the server is running with the
python manage.py runservercommand. -
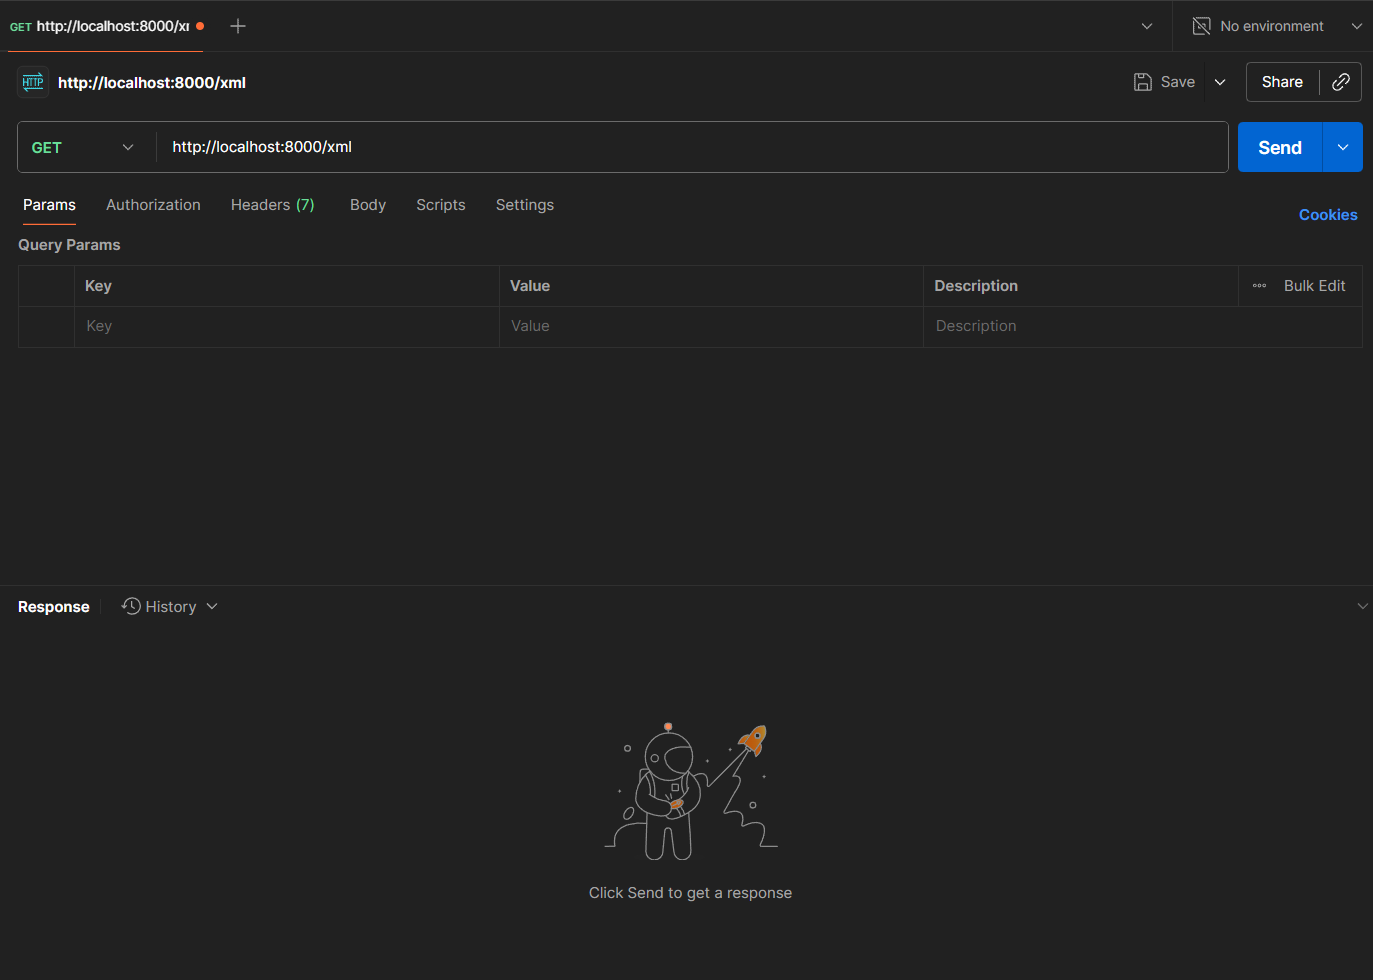
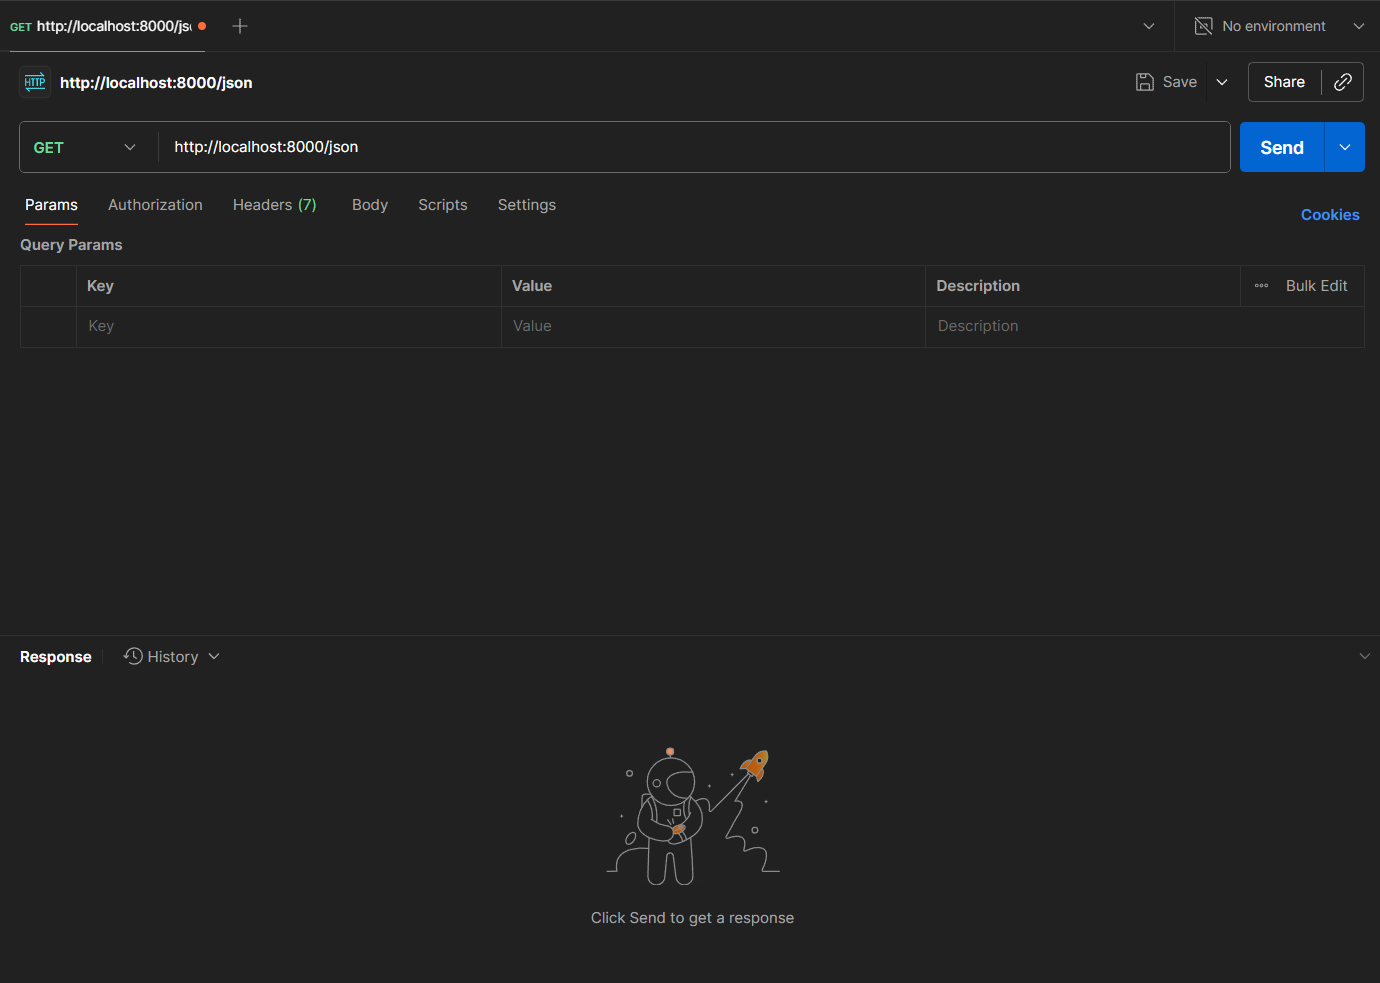
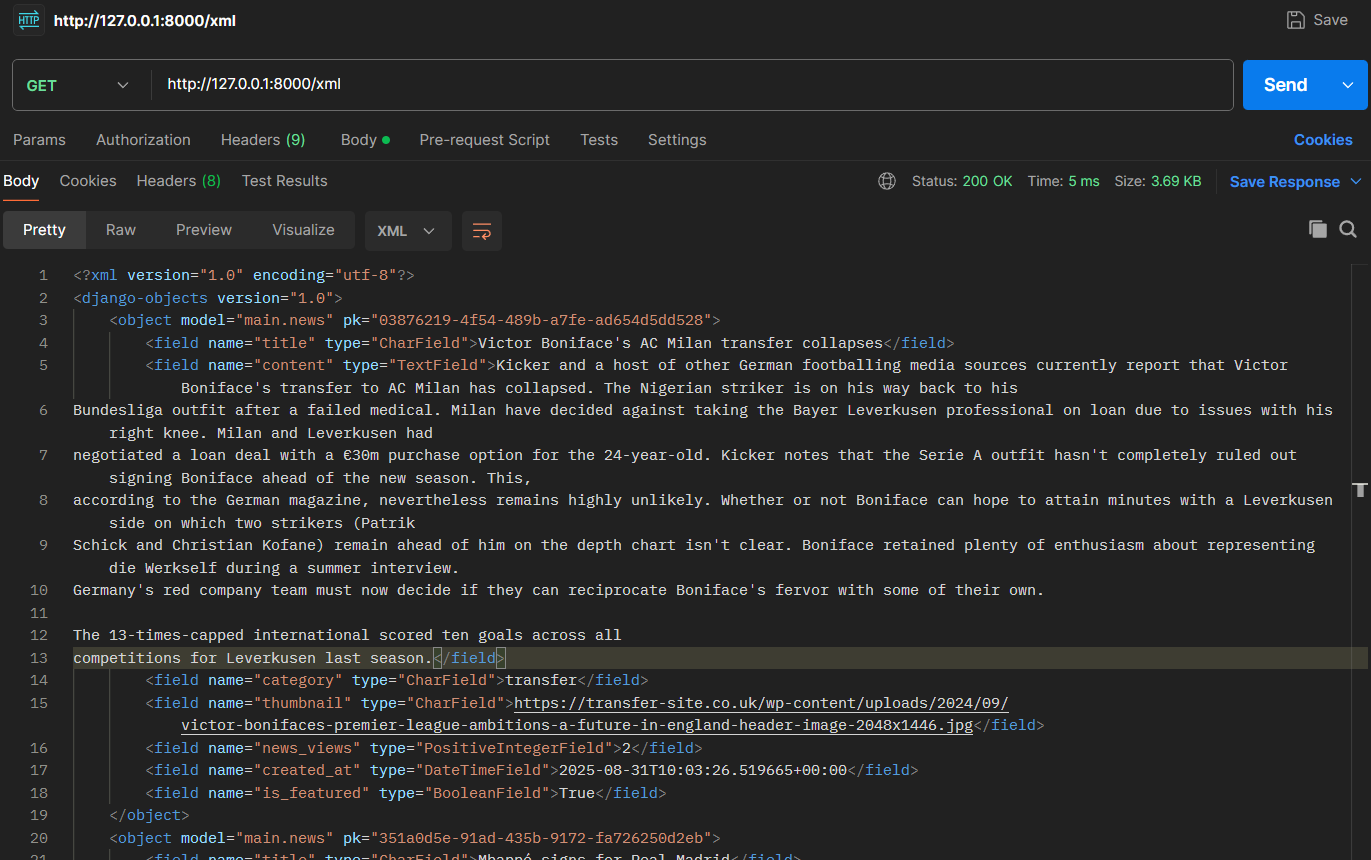
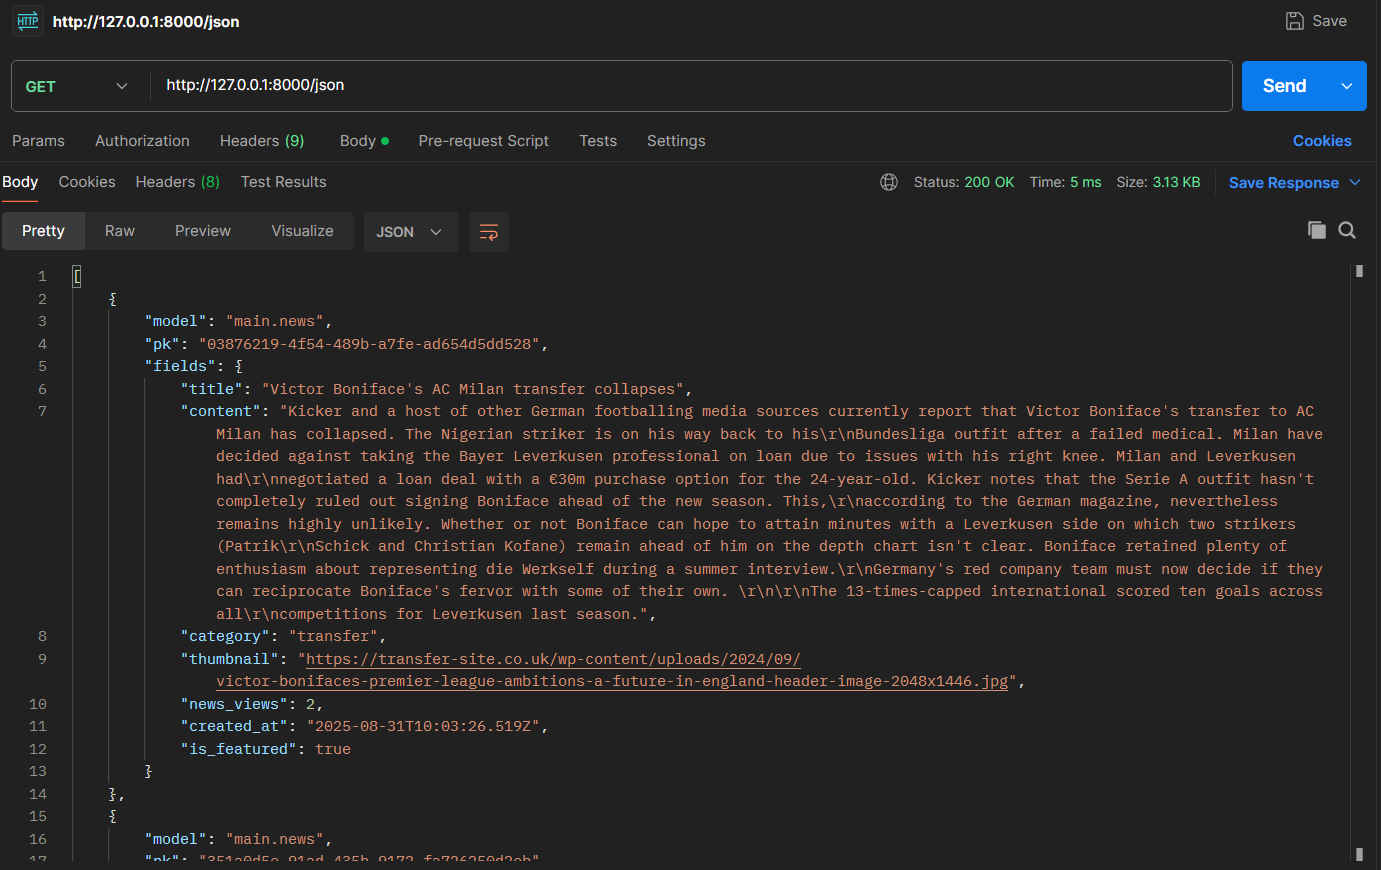
Open Postman and create a new request with the method
GETand URL http://localhost:8000/xml/ or http://localhost:8000/json/ to test whether the data is sent correctly.Postman Installation Guide can be found on the Postman official website
Example:
-
XML
-
JSON
-
-
Click the
Sendbutton to send the request. -
You will see the response result from the request at the bottom of Postman.
-
XML
-
JSON
-
-
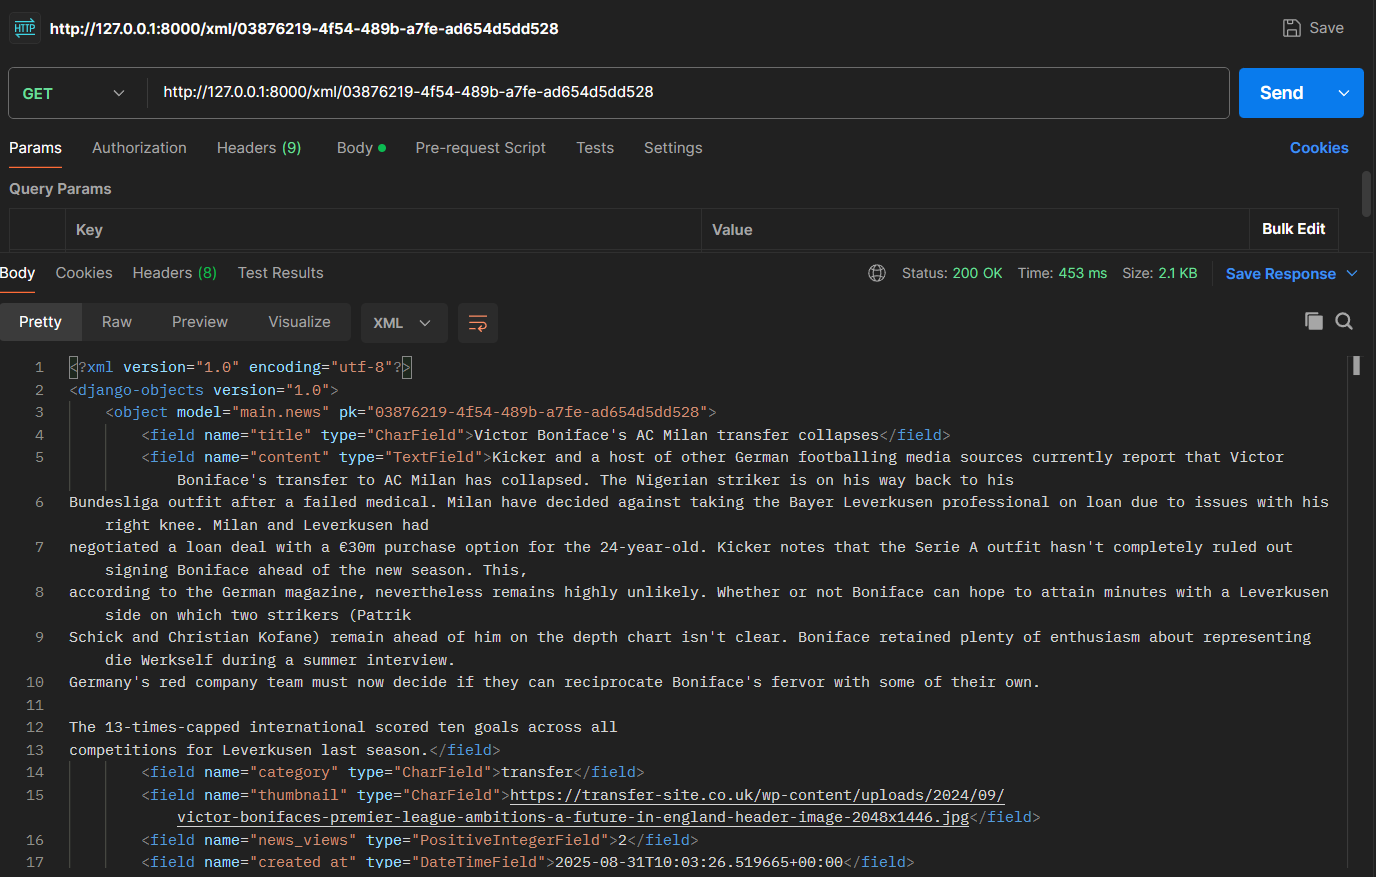
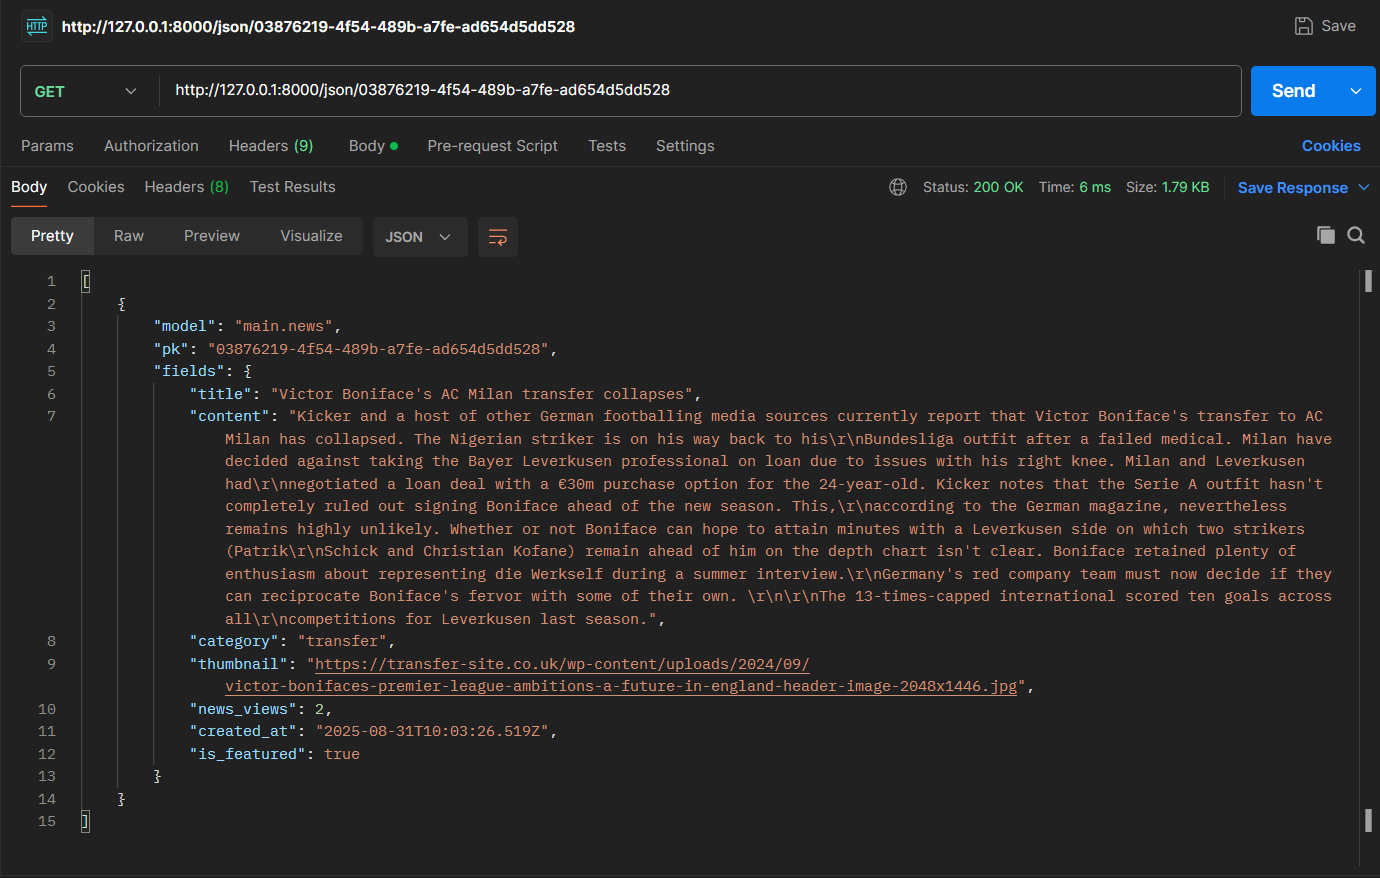
You can also change the URL to http://localhost:8000/xml/[news_id] or http://localhost:8000/json/[news_id] to test retrieving News data by ID.
-
XML
-
JSON
-
Conclusion
-
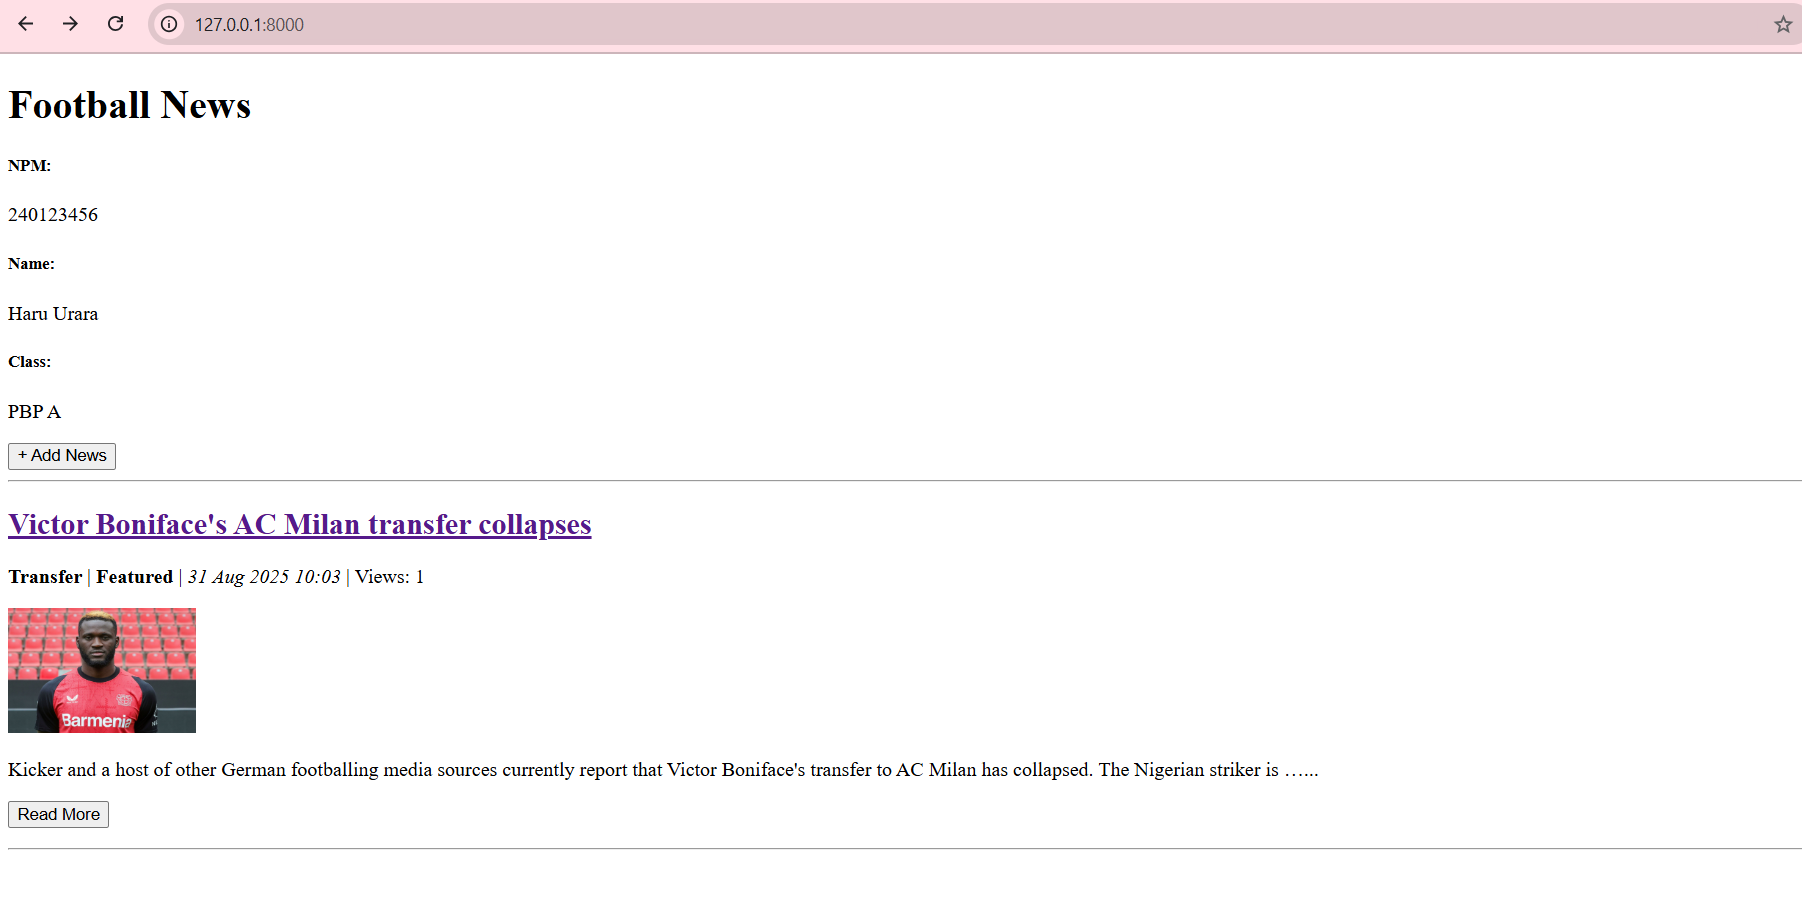
After completing this tutorial, your web page should look like this.
-
At the end of this tutorial, the local directory should look like this.
-
Before performing this step, make sure that the local directory structure is correct. Then run
git add,git commit, andgit pushto update the GitHub repository. -
Run the following command to perform
add,commit, andpushto GitHub and PWS.git add .
git commit -m "<commit_message>"
git push -u origin master
git push -u pws master- Change
<commit_message>according to your needs. Example:git commit -m "finished tutorial 2".
- Change
Additional Reference
- Installing and updating Postman
- Retrieving a single object with get()
- Request and Response objects
- Django Request and Response cycle
Contributors
- Fiona Ratu Maheswari (FIO)
- Anthony Edbert Feriyanto (ANT)
- Meutia Fajriyah (MEW)
- Yeshua Marco Gracia (ACO)
- Alexander William Lim (LEG) (EN Translation)
Credits
This tutorial was developed based on PBP Odd 2025 and PBP Odd 2024 written by the 2025 Platform-Based Programming Teaching Team. All tutorials and instructions included in this repository are designed so that students who are taking Platform-Based Programming courses can complete the tutorials during lab sessions.